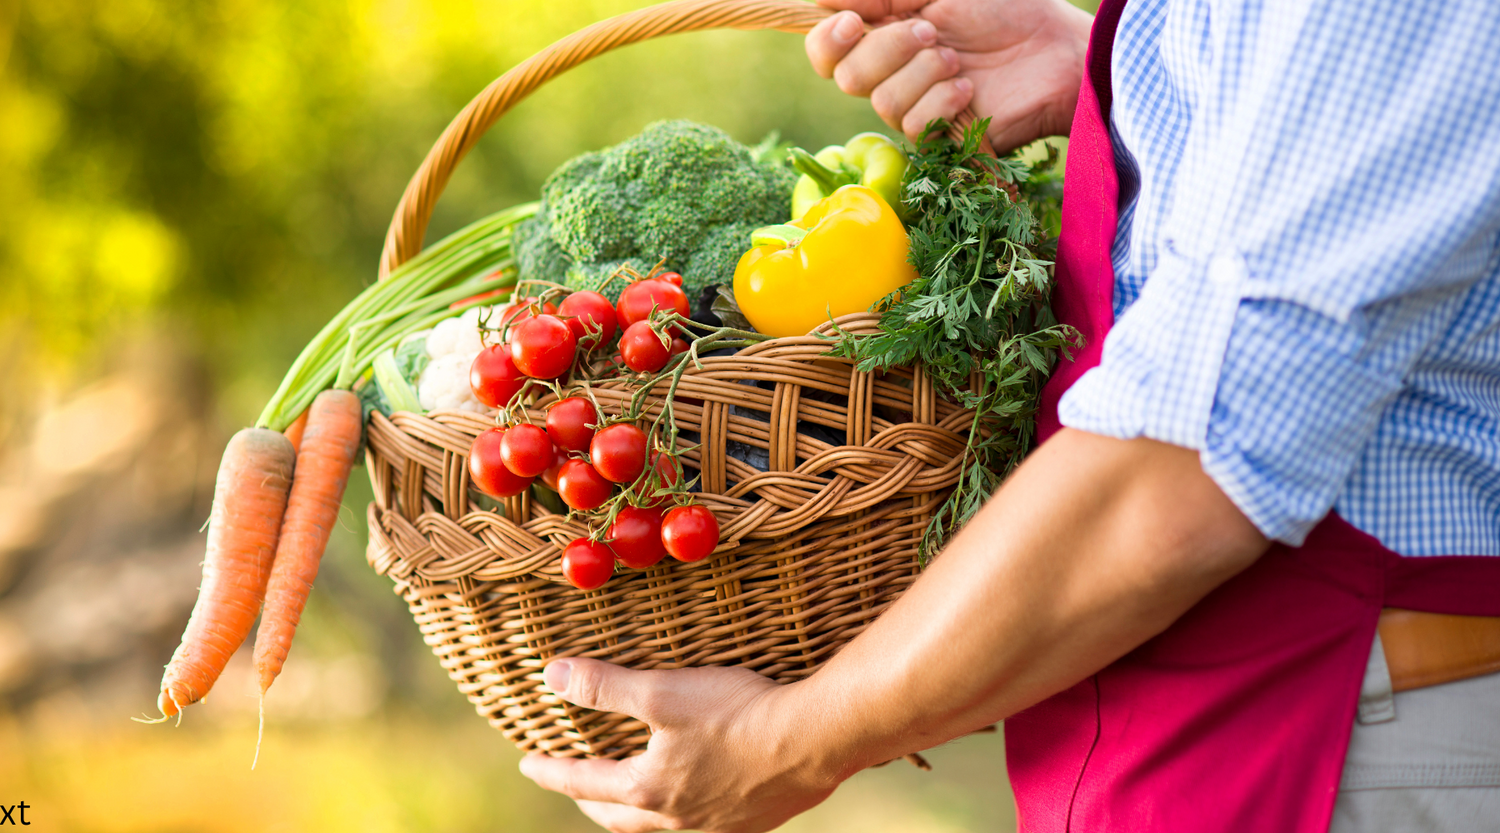
It's no secret that we are moving towards sustainable living practices, with more individuals seeking ways to reduce their ecological footprint. One significant aspect of this movement is the growing interest in home gardening and going some way towards being self-sufficient in providing our own homegrown herbs and vegetables. Not only does home gardening provide access to fresh, organic produce, but it also fosters a deeper connection with nature and is a very relaxing pastime. A standout amongst the raised garden beds available is the Vegepod, loved for its innovative design and great features. So if you're considering a Vegepod raised garden bed as a sustainable gardening solution, read on.
Want the full overview first? Learn everything about Vegepod →
What is a Vegepod?
Simply put, a Vegepod is a self-contained modular raised garden bed that has everything inbuilt to make growing vegetables, herbs, and flowers more accessible and efficient.
Key Features:

- The Vegepod bed consists of a durable, UV-stabilized polypropylene container which is resistant to rot, insect damage, UV rays, and moisture.
- The elevated design of the Vegepod garden beds minimises the strain on the gardener's back, making it ideal for those with mobility issues and keeping pests at bay.
- A special feature of the Vegepod is its protective VegeCover canopy, which can be easily removed for planting, harvesting, or ventilation purposes.
- Vegepods feature a wicking system that allows plants to draw water from a reservoir below the soil surface. This self-watering mechanism ensures consistent moisture levels, reducing the risk of over or under-watering and can cut water usage by up to 80% compared to other garden beds.
- Vegepods represent a very portable option for renters who want to take their veggie patch with them when they move.
- Modular Vegepod garden beds come in different sizes and configurations so you can tailor your veggie garden to your available space and needs, making them a great option for smaller gardens and courtyards where there is limited room.
By choosing Vegepod raised garden beds, gardeners can support sustainable gardening in multiple ways. Firstly, these beds conserve water through their self-watering system and by reducing evaporation. Secondly, they promote soil health and fertility with organic soil and compost, reducing the need for synthetic fertilisers and pesticides. Moreover, growing vegetables at home decreases reliance on store-bought produce, cutting down carbon emissions from transportation and packaging.
Shop All Vegepod Raised Garden Beds — Free Shipping Australia-Wide →
Which Vegepod Size Is Right for You?
| Model | Size | Best For | Varieties | From |
|---|---|---|---|---|
| Small | 0.5m x 1m | Balconies, singles, beginners | Up to 15 | $328 |
| Medium with Stand | 1m x 1m | 1–4 people, small backyards | Up to 30 | $468 |
| Medium with Trolley | 1m x 1m | Balconies, renters, sun-chasers | Up to 30 | $598 |
| Large | 2m x 1m | Families of 4+, serious growers | Up to 60 | $728 |
| KitchenGarden | Indoor LED | No outdoor space, year-round herbs | Herbs & greens | $299 |
Free shipping on all models, Australia-wide. No minimum order.
1. Setting up & Placement of your Vegepod

Assembly is relatively easy and your Vegepod will come with the instructions relevant to the size bed you have chosen. The instructions are very helpful and easy to understand so it won't take too long to have your bed up and ready. Prime consideration for positioning your Vegepod is sunlight — place it in the best spot to get the most sunlight, remembering that your VegeCover will keep your plants protected from too much sunshine. Next you will need to ensure that you have a level surface to place your Vegepod on; this keeps it safe and will allow the water to reach the plants evenly. If you have a soft surface underneath, place the Vegepod on some pavers to stop it from sinking into the ground. Make sure you have the final position sorted before filling as it will be heavy to move afterwards.
Love the Vegepod concept? Shop our complete Vegepod range — all with protective VegeCover canopies and stands included, with free shipping Australia-wide.
2. Filling your Vegepod
There are various types of growing mediums suitable for the Vegepod, such as soil, potting mix, potting soil, and compost — do not use general soil from your garden. For container gardening, it's best to use a mix specifically designed for this purpose, with some blends tailored for vegetable growing. You can find quality mixes with fertilisers at garden centres, usually sold in bags. These superior mixes promote better growth and have a longer lifespan compared to cheaper alternatives. Fill right to the top — the Vegepod self-watering drain trays are designed to provide water to 300mm of soil medium.
Perlite is a handy addition to your soil mix — it makes the soil lighter and helps it retain moisture. Swap out about 25% of your soil mix for coarse grade perlite, available at hydroponic stores and some garden centres. If you don't have perlite, regular potting soil works fine.
Soil requirements to fill your Vegepod:
Small Vegepod (1m x 0.5m) — requires 4 x 25L bags of potting soil/mix to fill
Medium Vegepod (1m x 1m) — requires 9 x 25L bags of potting soil/mix to fill
Large Vegepod (2m x 1m) — requires 18 x 25L bags of potting soil/mix to fill
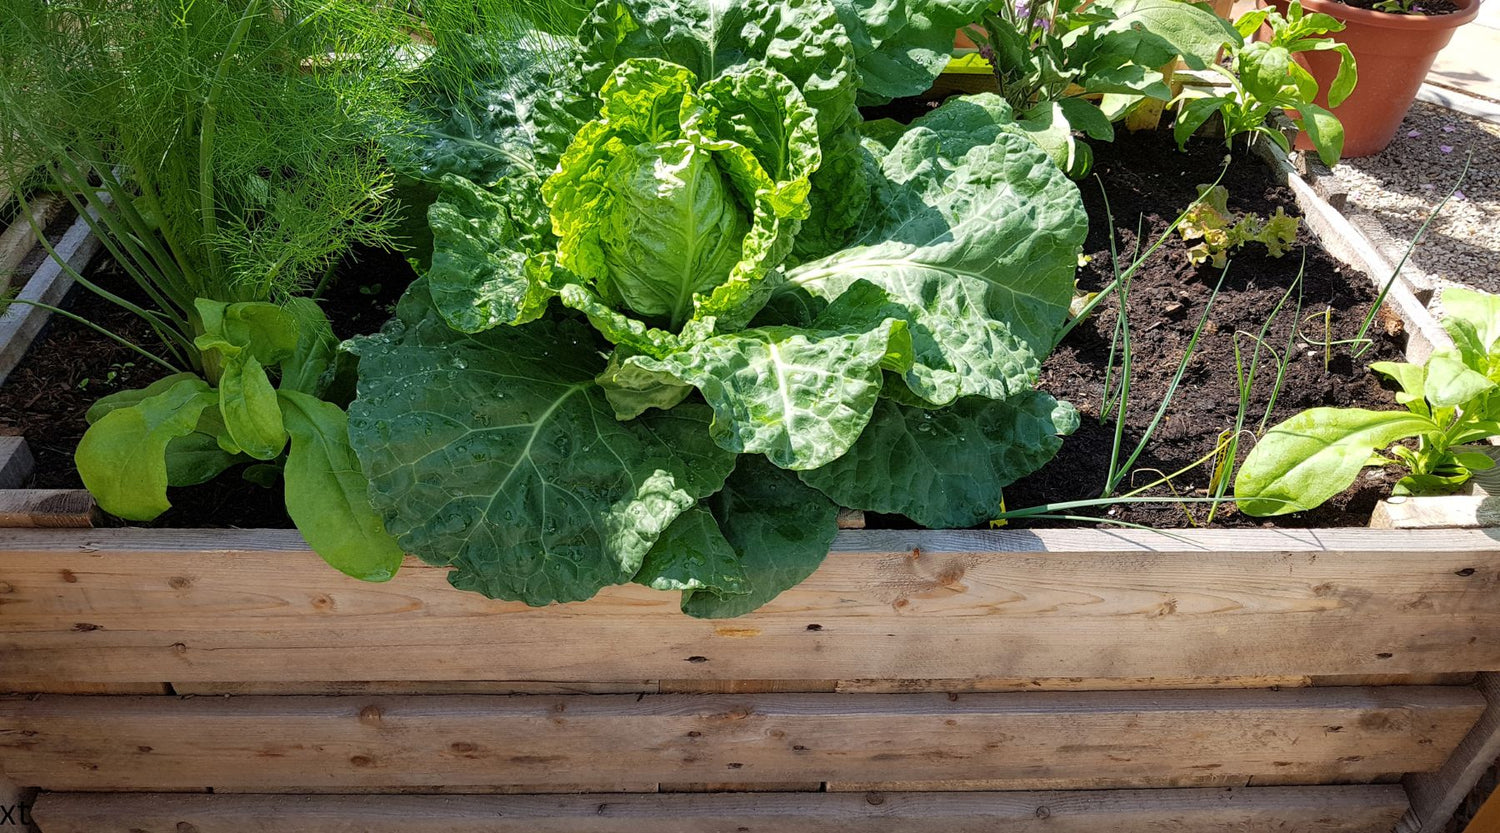
3. Planting Guide for your Vegepod

For the best results in your Vegepod garden, arrange your plants strategically. Place herbs and root veggies towards the front where they can easily access sunlight. Taller plants like cherry tomatoes and beans should be placed towards the back to make the most of vertical space.
Starting with Seeds:
You can plant seeds directly into the soil or use a seed raising kit and then transplant them. When planting seeds directly, you may need to thin out crops as they sprout to avoid overcrowding.
Starting with Seedlings:
Planting seedlings directly into the Vegepod is the quickest and easiest method. Seedlings are available from garden centres and hardware stores. Give your plants enough room to grow and check recommended spacing for each plant type. Boost new seedlings with a seaweed concentrate like Seasol to promote robust growth. Not sure what to plant this autumn? Check out our seasonal seed bundles from Thrive Sustainability — heirloom, open-pollinated varieties with free shipping Australia-wide.
4. Vegepod Watering Guide — for healthy plants

Established plants possess superior water-seeking abilities compared to newly planted crops. Here's a simple guide to ensure optimal watering for your garden:
- Seedlings/Starters: Water daily for approximately 3 minutes until they establish roots (7–10 days). In cooler weather, every second day.
- Established Plants: Reduce to once a week. In hotter climates, every second or third day.
- Vegepod Reservoirs: Can sustain plants for up to 6 weeks without additional watering. Even when topsoil feels dry, there's moisture below.
- Weather-Based Watering: Avoid watering during cool, rainy periods. In hot, dry, or windy weather, water every second day.
- Preventing Overwatering: If soil is visibly wet on top, don't water. Moss, mildew, or fungus indicates excessive moisture — hold off watering for at least 2 weeks.
- Extended Absence: Fill reservoirs before leaving. Established plants can last four weeks with full reservoirs.
5. Ongoing Maintenance — very little required
The wonder of the Vegepod is how very little maintenance is required. When starting with a high-quality potting soil or mix, fertilisation is often unnecessary initially. After each crop cycle (every 3–6 months), refresh the soil by turning it over and adding natural fertilisers such as manures, worm compost, or garden composts.
Keep the VegeCover canopy closed when not tending to your crops to protect against pests and create a humid microclimate that promotes faster, healthier growth.

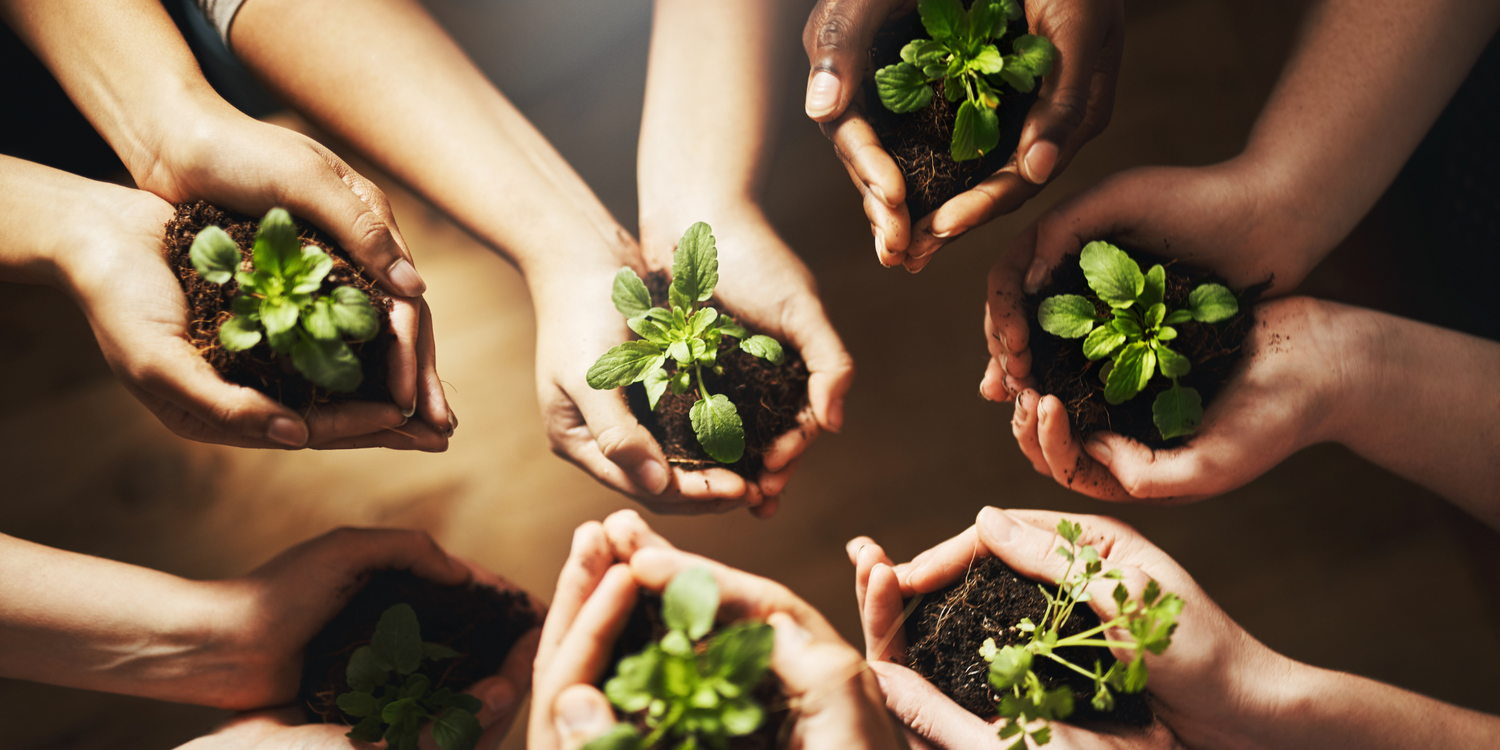
In the pursuit of sustainable living, adopting practices like home gardening is crucial. Vegepod raised garden beds offer a convenient, efficient, and eco-friendly solution. Whether you're a beginner or a seasoned gardener, these self-contained systems provide an accessible way to grow fresh, nutritious produce while lessening environmental impact.
Ready to start growing? Shop your Vegepod — free shipping Australia-wide:
- Small Vegepod (0.5m x 1m) — perfect for balconies, from $328
- Medium Vegepod (1m x 1m) — ideal for 1–4 people, from $468
- Medium Vegepod with Trolley (1m x 1m) — moveable, from $598
- Large Vegepod (2m x 1m) — maximum growing space, from $728
- Vegepod KitchenGarden — grow indoors year-round, from $299
View Full Vegepod Collection — Free Shipping Australia-Wide →