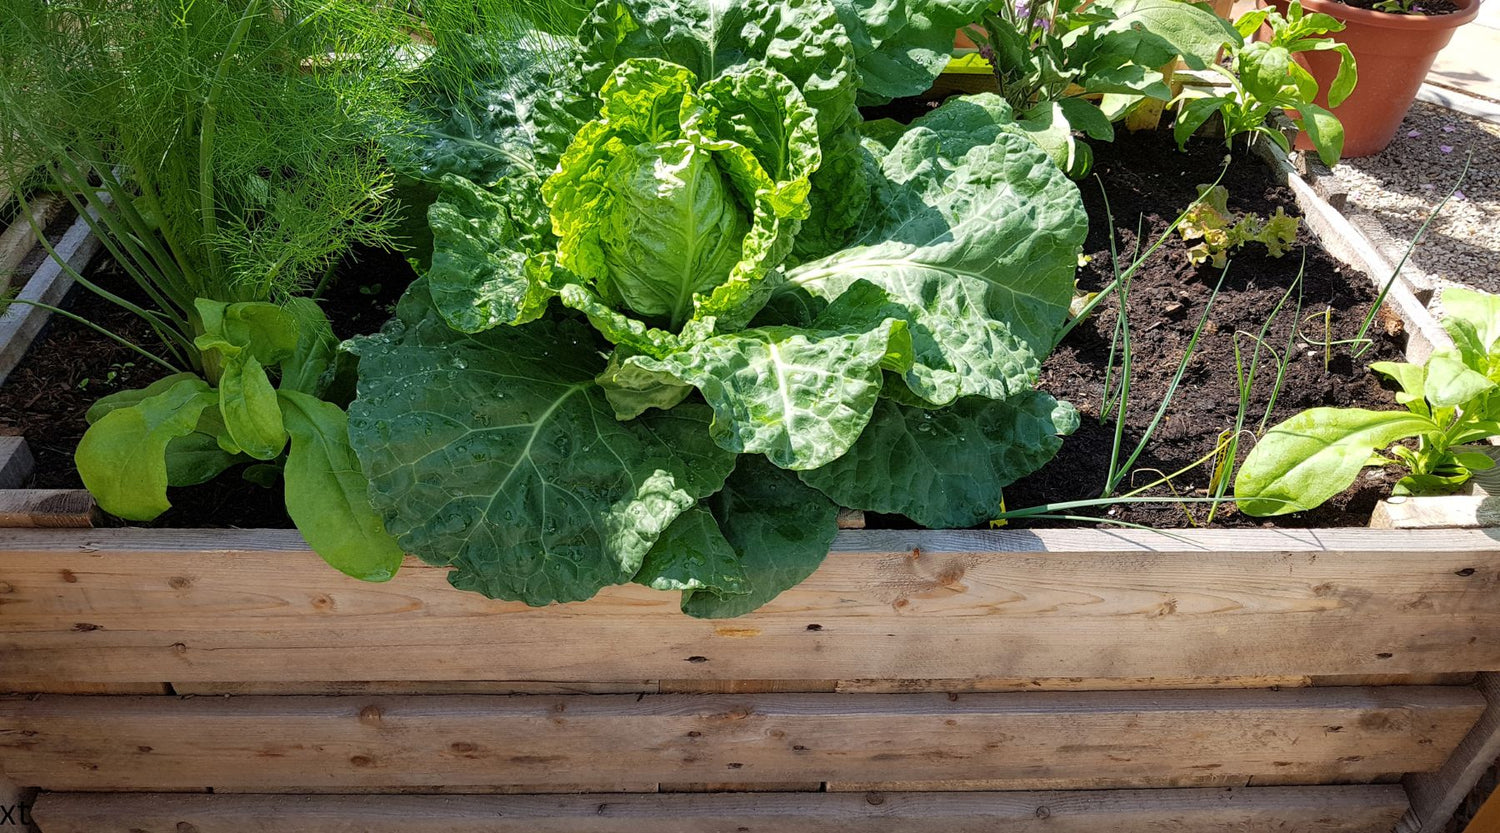
Growing your own food is one of the most rewarding ways to eat healthy, save money, and reduce your environmental footprint. Whether you're a first-time gardener or looking to improve your existing setup, planning a vegetable patch with raised beds is a great way to get started. In this post, we’ll walk you through how to design a productive garden for a family of four using raised beds — with a little help from the GrowVeg Garden Planner.
The Grow Veg Garden Planner benefits gardeners of all levels, offering tools to design layouts, select crops, and schedule planting based on your local climate. You have access to a 7 day free trial (with no payment details required) and you can download any plans created in this time frame and keep them free of charge. The paid plan has some wonderful resources and support if this is within your budget and of interest to you, you can continue with a subscription. Check it out for yourself at Growveg.com.au, WAIT TO SIGN UP for your free trial, until you have read through the rest of the blog and gathered all the information you need. It’s also important to have set aside enough time to take advantage of your 7 days free planning of your new vegetable garden.
For a family of four, a well-planned setup of 4 raised beds can provide a steady supply of fresh produce throughout the growing season. Carefully consider the dimensions, widths around 90-120cm are ideal when you have access from both sides. If you only have accessibility from one side look to 60-90cm width.

Step 1: Assess Your Space and Sunlight
Start by choosing the sunniest part of your yard. Most vegetables need at least 6–8 hours of sunlight per day. Make sure the area is relatively flat and has easy access to water. You may prefer to look at our self-watering range of raised garden beds Take note of nearby trees, fences, or buildings that might cast shade during parts of the day.
Once you have allocated some space for your veggie patch, you can proceed to use the GrowVeg Planner’s mapping feature to outline your available garden space. This helps you visualise bed placement and ensure you have enough work around space. The minimum width between garden beds should be 60cm to allow easy access for weeding, harvesting and other tasks, if you have additional space you can go anywhere between 60cm-90cm.
So in my example I have allowed a garden area of 5m x 4m. I have chosen 4 of our Greenfingers Raised Garden Beds 2.4m x 800mm(wide) with a height of 560mm. It’s slightly less than the recommend 900mm width, but these beds offer great start up value. They are also available as a twin pack. Alternatively we can custom your garden beds to any size or shape needed for your veggie garden. In addition to the 4 long raised garden beds, I have filled up the space with a green fingers circular bed 900mm which I intend to use as our herb garden. Using the Grow Veg Garden Planner you can space out your garden beds to allow the minimum access spacing. In the Grow Veg Garden Planner you can select from objects that you wish to add to your garden, in this instance I have selected the metal raised garden beds (custom size). You can scale up or down the measurement required, I set mine at the 2.4m long and 800mm wide to duplicate my chosen garden beds.
Step 2: Decide What to Grow
When deciding what vegetables to plant in your garden bed, it’s smart to start with your family’s favourites. Think about what you cook and eat most often—whether it’s crisp cucumbers for summer salads, juicy tomatoes for pasta sauce, or sweet carrots for snacking. Growing what your family already enjoys ensures your harvest will be used and appreciated, reducing waste and adding value to your meals.
The Grow Veg Garden Planner lets you select from seasonal planting relevant to each of the seasons, and although a global app, it relates directly to your local climate as you enter your location details.
Get the family involved in the planning process, and put together a wish list of your chosen veggies and herbs. Head to the crisper in the fridge for more inspiration, or take a look at your last food shopping list. Having this list on hand before you start your 7 day free trial, will maximise your use of this great program.
My list included my favourites, Tomatoes, Garlic, Beans, Beetroot, Carrots, Peas, Celery, Spinach, Capsicum, Cucumber, Lettuce, Radish, Spring Onions, Onions, Sweetcorn, Zucchini and herb selection of Oregano, Chives, Basil, Coriander and Dill, ready for spring planting.
Looking for more inspiration,, we've partnered with Thrive Sustainability to bring you a seasonal selection of heirloom, open-pollinated vegetable and herbs seeds to get you started.
Step 3: Plan Your Layout in GrowVeg
Deciding of how many plants is made easy in the Grow Veg Planner. Once you select your chosen crop you can drag it across to the garden bed and expand it to fill as much space in the raised garden bed as you choose. In doing so the Garden Planner automatically spaces your plants correctly to prevent overcrowding, ensuring each one gets enough sunlight and makes the most of available nutrients and moisture. You can easily move plants and other elements around at any time, allowing you to perfect your garden layout without the hassle of constant erasing or redrawing.

You can also select a crop and look for a companion plant. Companion planting in vegetable gardens is a time-tested gardening technique that involves growing certain plants together to enhance growth, deter pests, and improve yields. By strategically pairing vegetables, herbs, and flowers, gardeners can create a more balanced and resilient ecosystem. For example, planting basil near tomatoes can improve flavor and deter harmful insects, while marigolds are known to repel nematodes and aphids when interplanted with various crops. Additionally, legumes like beans and peas enrich the soil by fixing nitrogen, benefiting nearby heavy-feeding plants like corn or leafy greens. Overall, companion planting not only promotes healthier plants but also reduces the need for chemical interventions.
Once you have completed your Veggie Garden Plan, you can download and save it to your computer for printing. In addition to printing out your design you can also print out a list of your chosen veggies/herbs and it will tell you how many seeds/seedlings to plant. How easy is that! Your design is your’s to keep free of charge if everything is completed in the 7 days free trial.
The grow veg planner has great ongoing value, enabling you to replan your garden each season with information on succession planning, rotating crops each year to avoid soil depletion and pest build up, set reminders for sowing, planting and harvesting along with a wealth of resources and knowledge.
For the purpose of this blog it’s to help you get started, and grow veg planner is more than happy for you to use the free trial to your advantage and download and keep your free copy.
Happy Planning! Grow Veg Garden Planner


