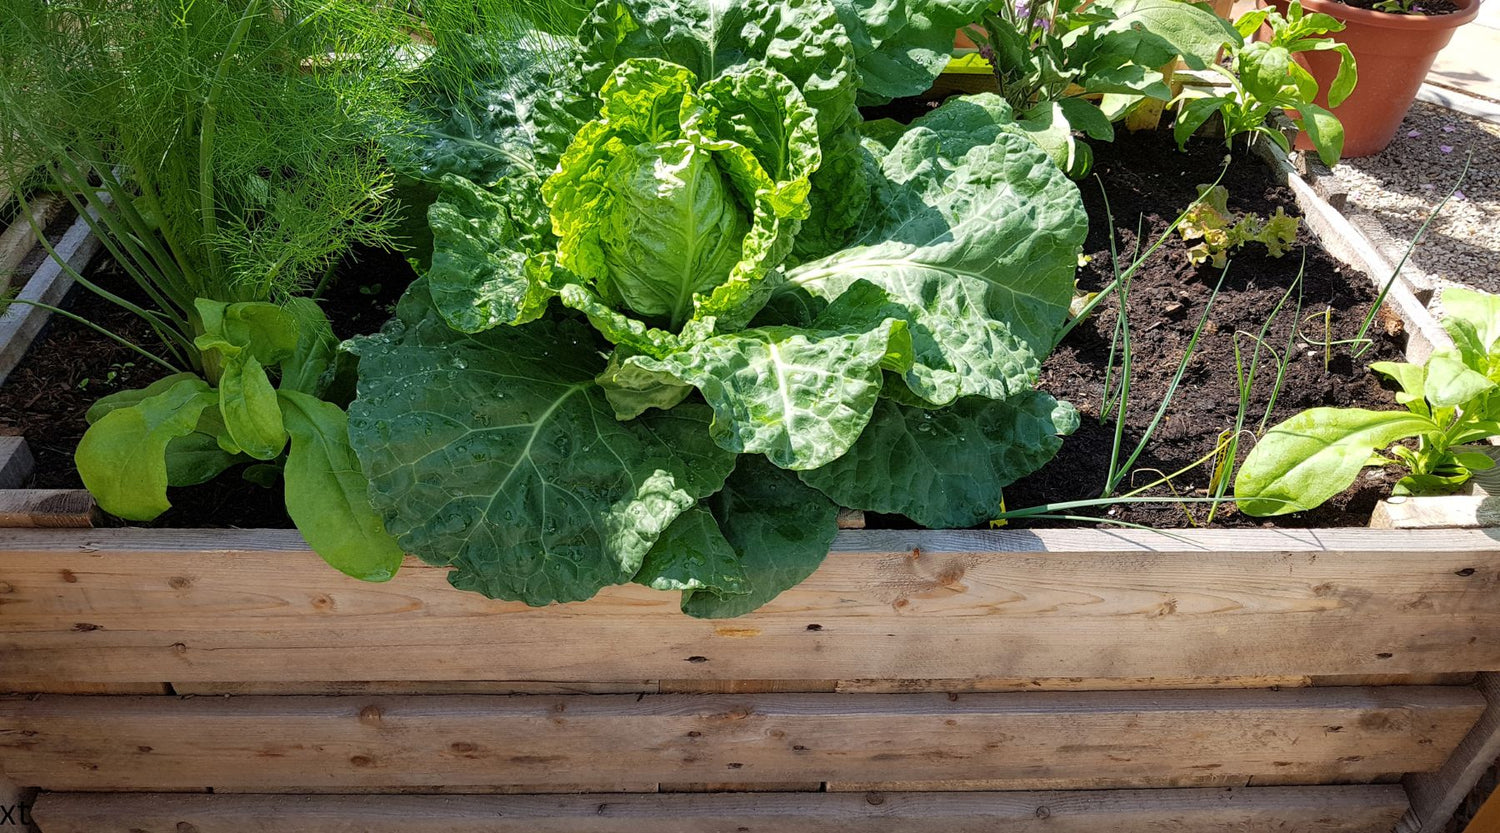
Raised garden beds represent one of the most straightforward and effective methods for cultivating edible plants in your garden and it’s easy to see why they are so popular. They effortlessly address issues like poor drainage, offering the flexibility to be situated in various locations while consistently producing an abundant supply of fresh herbs and vegie for your family. Establishing a raised garden bed requires some initial planning and a few hours of labour if you choose to go DIY but the result is a plentiful harvest that far surpasses taste and quality of any supermarket shelves.
Choosing a raised garden bed has become even more appealing now with a wide range of colours to compliment your home and size to match the space you have available, see our range of raised garden beds in store. Raised garden beds enable gardeners dealing with challenging soil conditions, such as clay or rocky terrain, to create an ideal planting environment for successful growing of herbs, vegetables, or any other garden plant. Furthermore, their elevated design simplifies the gardening process, making it a more enjoyable experience when tending to your herbs and vegetables at an easy to reach height, at the same time keeping weeds at bay.
If you're considering joining the raised garden bed movement to grow your own organic produce, then you’ll need to know how to fill your new raised garden bed to give your herbs and veggies the best start. Follow our easy 4 step guide on how to fill your raised garden bed.
Preparing your Raised Garden Bed

Careful site selection is crucial, as once the raised garden bed is filled, relocating it becomes a monumental task, you may have already taken a look at our previous blog How to choose your Raised Garden which covers considerations for the position of your raised garden bed. I recommend having a read first before following the steps below as slopes, sunlight, water, wind, access and finally what surface to place your bed on are all very important considerations.
To highlight some important considerations if you are placing your bed directly on your lawn you will need to outline the designated area and treat the grass with glyphosate beforehand and allow for the grass to wilt before positioning your new bed. Likewise, if your raised garden bed is going on concrete, we recommend incorporating a geotextile membrane drain mat fabric at the base of the bed. If you’re not looking to hand water your raised garden bed, before introducing soil into the raised garden bed, install an underground irrigation system. Drip irrigation stands out as the most efficient watering method, ensuring uniform coverage and minimizing water wastage. In contrast, overhead sprinklers tend to water the bed's edges rather than the plants themselves.
Now let’s get started
1. Setting up drainage

The roots of plants require a good amount of oxygen to absorb nutrients from the soil. Poor drainage means the soil will hold an extra amount of water, which will displace the oxygen, suffocating the plant’s roots and causing detrimental effects if left unchecked. Another reason drainage is important is it reduces soil erosion and nutrient loss from run off. This is why you need proper drainage in your raised garden bed. With poor drainage, the roots will rot, resulting in decay and the proliferation of fungal diseases.
This can be done relatively cheaply. We start with a basic thick layer of recycled old newspapers (lightly moistened on windy days, so you’re not chasing newspapers sheets around the garden. This will help retain some extra moisture and prevent grass/weeds form growing up and into your raised garden bed.
Next, we can look at creating that organic drainage layer by placing cardboard on top of the newspaper, heavy cardboard from packing boxes is ideal. Head to the garden or bush to collect logs and sticks found lying on the ground and set these down on top the cardboard and finally finish off with some leaves. Wood pieces break down slowly, making them a good source of natural material for your raised garden bed. The best kind of wood to use is the slightly rotted type, which you can get from branches taken off a dead tree or logs from an old wood pile. This material will naturally break down over time, benefiting your garden. Do not place any treated timber in this mix.
At this point you can also look to add some weed matting for extra protection also allowing water to drain through but not the soil and mulch.
2. Bring in the soil – the high’s and low’s

In any raised garden bed, you are going to want 30cm of high-quality soil such as a veggie/flower mix which has compost and fertiliser blended in.
If have a high raised garden bed, you can fill the lower half of your raised garden bed with a regular soil, leaving enough room for a good quality soil for the top. Since vegetable roots typically don’t reach down this far you can save yourself some dollars with some cheaper fill.
Choosing the right soil is a crucial step if you want your plants to flourish. It's best to steer clear of budget soil mixes, especially if you're aiming for thriving plants. We recommend going for high-quality options like 100% natural soil, certified organic soil, or specialised blends such as those with added boosters or controlled-release fertilisers.
Avoid using soil from your garden; it can lead to long-term issues like waterlogging, weed infestations, and stunted growth. When the gardening season rolls around, you want to witness your plants thriving!
3. Potting Mix – mixing it up
Once you have your 30cm of quality soil, now, it's time to incorporate high-quality potting mix into your gardening project, mixing in amongst your soil to bring your level up to 40cm depth of blend soil and potting mix. For optimal results, select the finest available potting mix designed specifically for vegetables and herbs for your vegetable box. Choose from options like 100% natural, certified organic, premium mix enriched with organics, or premium mix with controlled-release fertilizers. These soils retain moisture well and won't dry out like regular garden soil.
4. Mulch – the icing on your raised garden bed

Instead of compacting the soil in your raised garden bed, gently soak it to let it settle on its own. Afterward, apply a 10cm layer of pea straw, lupin mulch or sugarcane mulch on the surface of your raised garden bed. This mulch serves to retain soil moisture and regulate temperature and offer protection to seeds and young seedlings as they develop. As the mulch decomposes, it will also contribute extra nitrogen to the soil.
In regions with hot climates like Western Australia, water-retaining crystals can be especially beneficial, same as applying a soil wetting agent to the mix to enhance moisture retention.
If your planting a vegetable or flowering plant that will require a climbing frame, it’s a good idea to get this in place now to minimise root disturbance and help train the plants in the preferred direction.
In a raised garden bed, your plants only access to good quality soil and the nutrients they need is what you put in, making your preparation the key to successful crops. Happy planting!
Unsure if raised gardening is for you take a read of all the advantages in our blog Advantages of Raised Garden Beds.


