

Are you interested in starting a garden but don't have a traditional soil bed to work with? No worries! With a little preparation, you can create a thriving garden on top of concrete or pavers. While many people traditionally position their raised beds on the ground soil, an increasing number are opting for concrete surfaces, particularly in rental properties or confined spaces. In this blog post, we will guide you through the steps to prepare the ground and raised garden bed to go over concreted and pavers, so you can enjoy the benefits of gardening even in urban environments.

Gardening on concrete does present some challenges. Concrete can become stained by soil, so renters in particular should take additional measures to prepare their beds. Adequate drainage planning is also essential to address potential water runoff issues caused by placing your bed on concrete or pavers.
Concrete can expedite soil warming in the spring, which is particularly advantageous for early-year food cultivation. Let's explore the steps required to establish your raised garden beds in the urban landscape of your concrete yard.
Step 1: Choose & clear the area
Every garden bed requires access to sunlight, with the required amount varying depending on the plants you intend to cultivate. To determine the optimal locations for your garden beds, start by observing your yard to identify areas with full sunlight, partial sun, and mostly shaded spots.
When selecting a spot for your garden bed, ensure that the bed's base rests on a level surface. This is relatively straightforward when the bed is being placed on concrete or pavers. However, if your yard has a slope, consider that the runoff from the bed will follow the direction of the slope. Be proactive in assessing whether excess moisture is likely to accumulate on the hard surface. A practical method for testing this is to turn on a hose to a minimal trickle in your chosen location and observe the water's path.
The first step in preparing the ground for a raised garden bed is to clear the area of any debris, such as rocks, weeds, or old plant material. Use a rake or shovel to remove any loose debris, ensuring a clean and level surface. Next we will position the bed in place, if you haven't chosen a raised garden bed yet take a look at our blog on "How to choose a raised garden bed".
Step 2: Position your bed
Start by positioning the frame of your raised bed on the concrete/patio surface. Consider the amount of space around your raised garden bed as this directly impacts the health and productivity of the plants within it. Adequate spacing around a raised garden bed allows for proper air circulation, access for maintenance, and facilitates the healthy growth of plants. As a general guideline, leaving a minimum of .5m of space on all sides of the raised bed is recommended. This provides enough room for gardeners to move around comfortably, making it easier to plant, weed, water, and harvest without compacting the soil or damaging plants
Step 3: Cover with Geotextile fabric
Geo textile membrane fabric is a synthetic layer that will allow filtration for drainage, at the same time prevents soil erosion onto your pavers/concrete base. It's hard wearing and readily available from Bunnings, and worth the price of protecting your concrete or paved area. If you garden bed is 500mm or higher place the geo textile fabric at least half way up the height of your garden bed to prevent soil seepage and staining of the concrete/paved surface. If your garden bed is lower than this take the geo textile fabric to the full height. The geo fabric, permits the passage of water while blocking soil or potting mix particles. If, at any point in the future, you need to dig down to the bed's bottom, take care not to puncture the fabric. Accidental holes can lead to patio staining or discoloration.

Step 4: Creating good drainage
To facilitate proper drainage, place an 80-100mm deep layer of aggregate, such as blue metal, crushed brick, broken concrete, or a similar material at the base of the container. This will create a reservoir for excess water to collect, preventing it from pooling around the plant roots. Adequate drainage helps prevent waterlogged soil, which can lead to root rot and other water-related issues.
Step 5: Fill the bed with soil
Now it's time to fill your garden bed, it's essential to fill it with 30cm of top-notch soil, preferably a vegetable/flower mix enriched with compost and fertiliser. For taller raised beds, consider using regular soil for the lower half and reserving space for premium soil at the top. Since vegetable roots typically don't extend that deep, opting for more affordable fill for the lower portion can be a cost-effective choice.
Selecting the right soil is a critical factor in ensuring the success of your plants. Stay clear of budget soil mixes, particularly if you aim for robust plant growth. Opt for high-quality alternatives like 100% natural soil, certified organic soil, or specialised blends with added boosters or controlled-release fertilisers. Avoid using garden soil, as it can lead to long-term issues such as waterlogging, weed infestations, and hindered plant growth. Witnessing thriving plants during the gardening season is the ultimate goal!
Step 6: Add Potting mix
The next step is to integrate high-quality potting mix into your garden bed. Blend it with your existing soil to achieve a depth of 40cm, creating a harmonious mix of soil and potting components. For the best outcomes, opt for a top-notch potting mix tailored for vegetables and herbs in your vegetable box. Choose from selections like 100% natural, certified organic, premium mixes enriched with organics, or those with controlled-release fertilizers. These specialized blends excel in retaining moisture and prevent drying out, offering superior conditions compared to regular garden soil.
Step 7: Mulch and water
After filling the bed with soil, apply a layer of mulch on top. Mulch helps retain moisture, suppresses weeds, and regulates soil temperature. Water the bed thoroughly to settle the soil and ensure proper hydration for your plants.

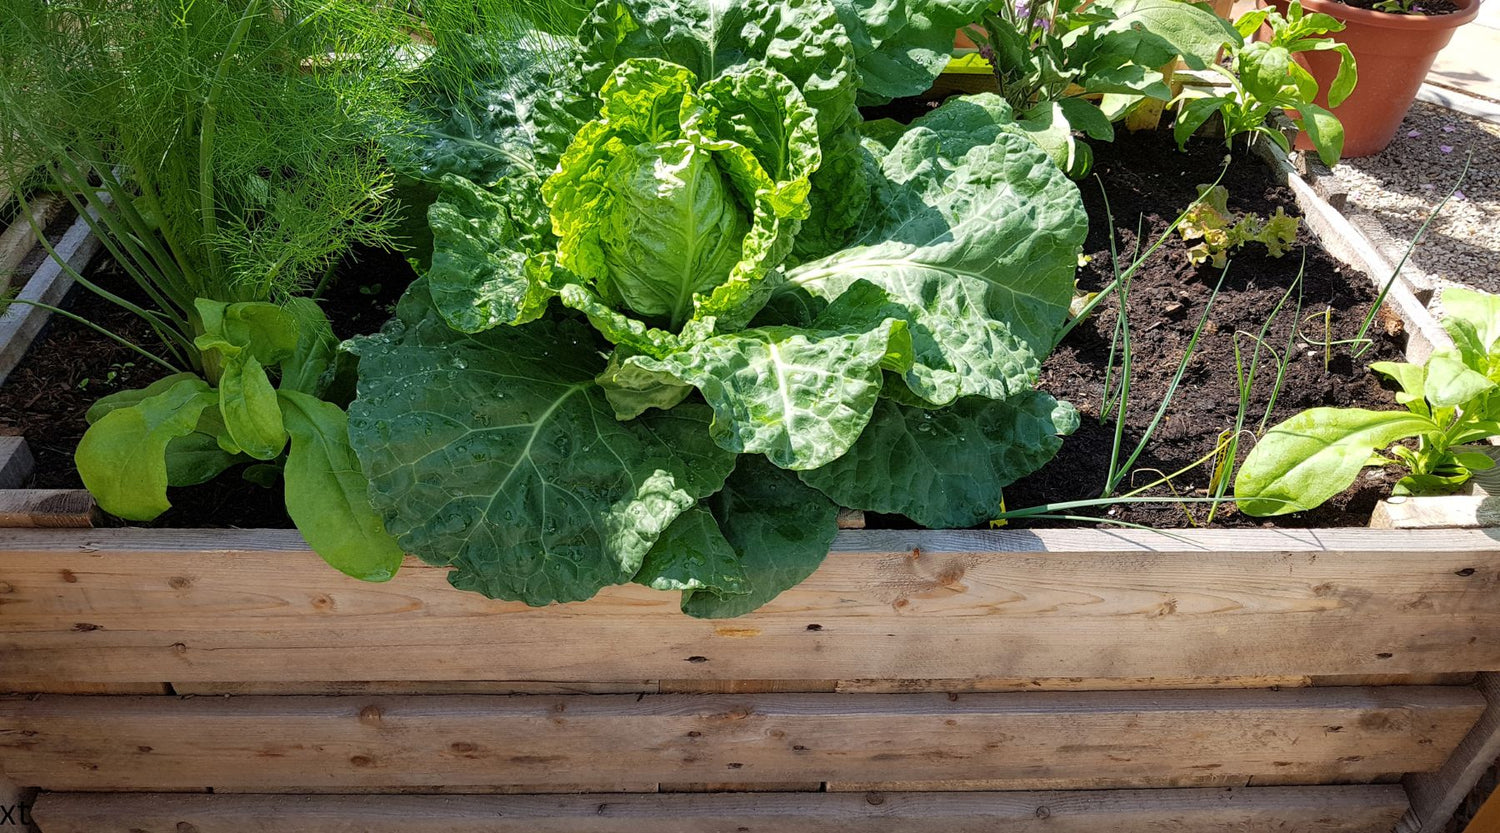
Step 8: Start planting
With your concrete/paver well protected and raised garden bed properly prepared, it's time to start planting! Choose plants that are suitable for your regions climate and the amount of sunlight the garden bed receives. Follow the recommended planting instructions for each plant, and enjoy watching your garden thrive.
By following these steps, you can transform a concrete surface into a flourishing garden bed. Whether you have limited space or simply prefer the convenience of a raised bed, this method allows you to enjoy the joys of gardening no matter where you live. Happy gardening!
Planters Raised Gardens provides a range of affordable raised garden beds and garden supplies throughout Australia, some with free shipping.